ISABER Wall Hung Saber Mount — No-Drill Vertical Hilt Display with 3M Adhesive Backing
Your shelves are full. Your wall isn’t.
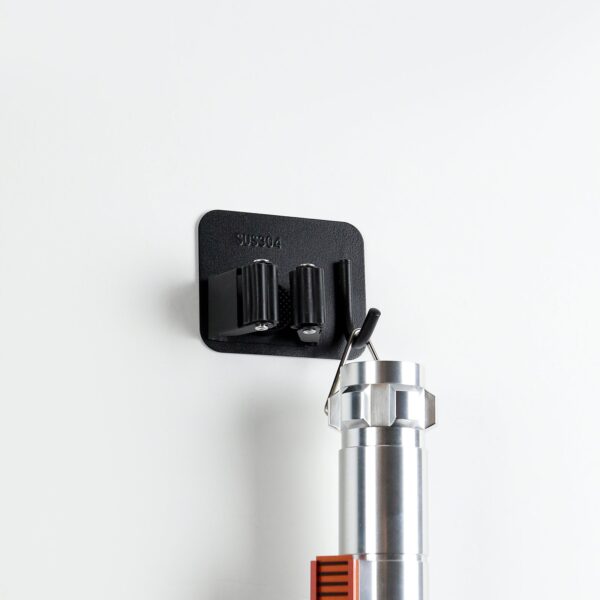
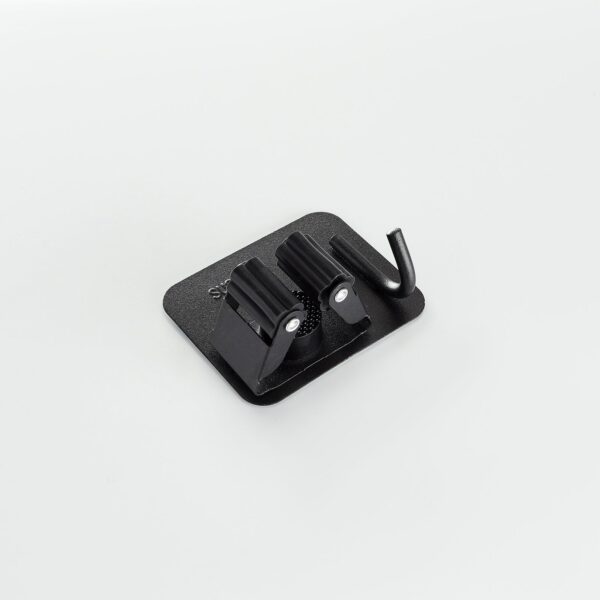
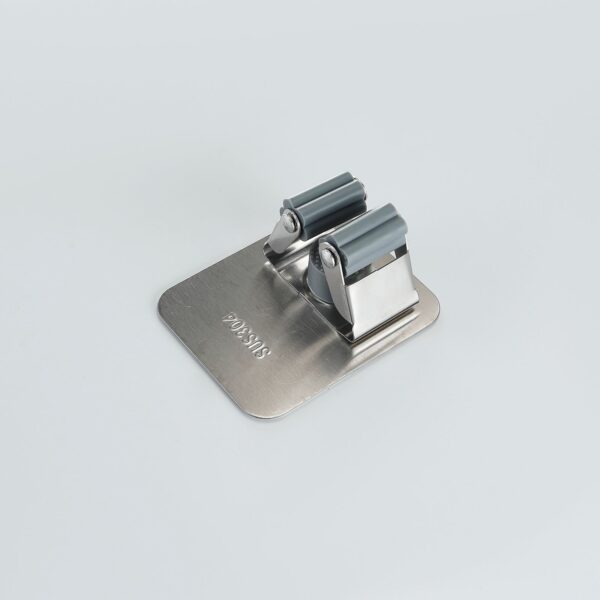
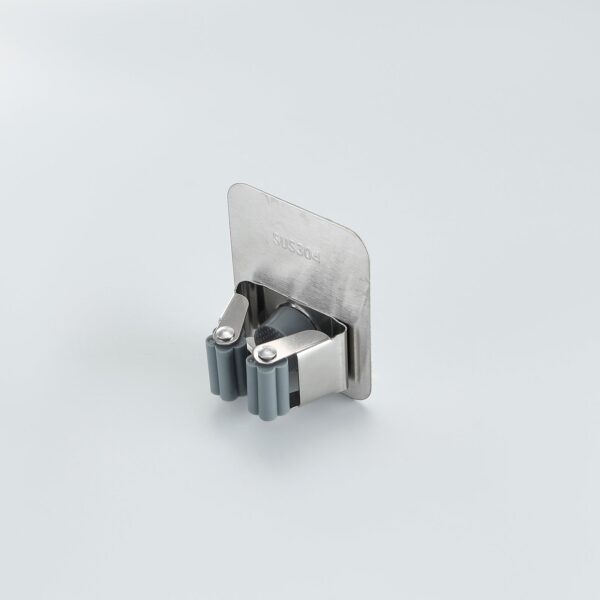
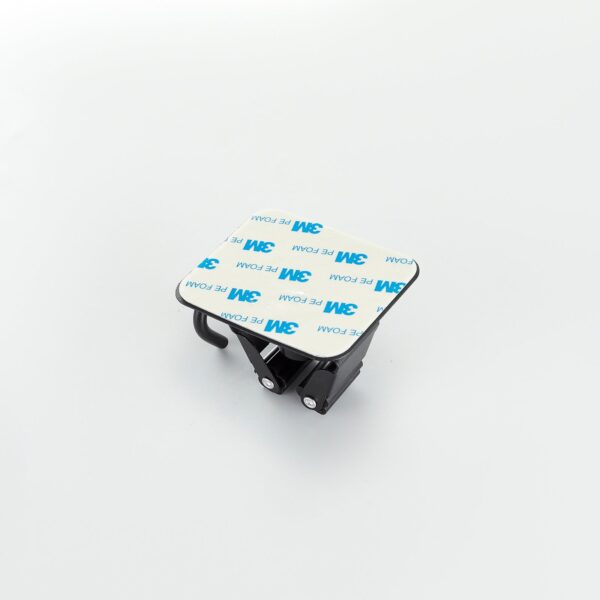
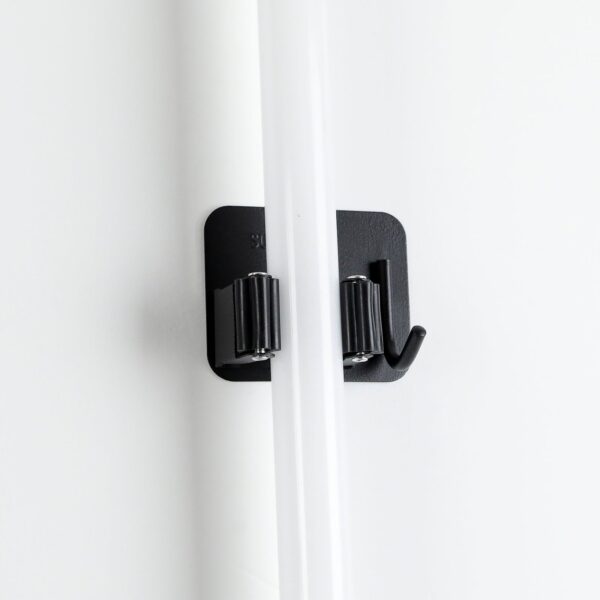
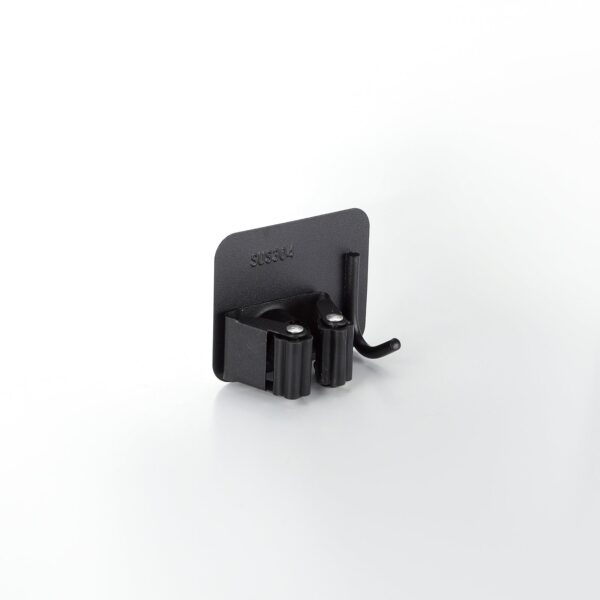
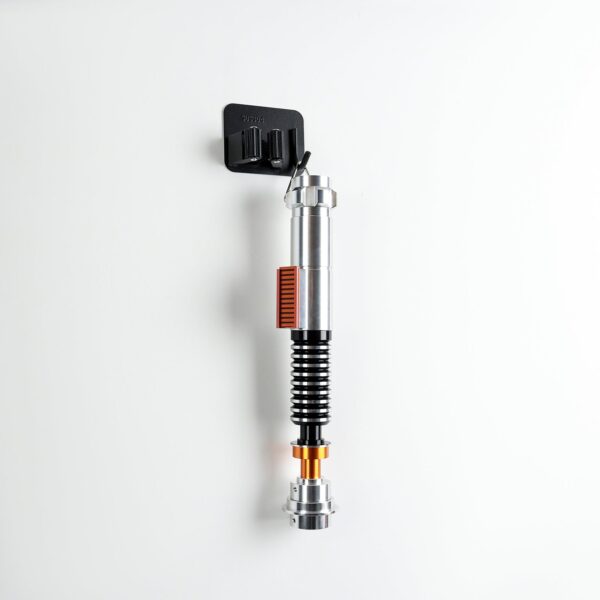
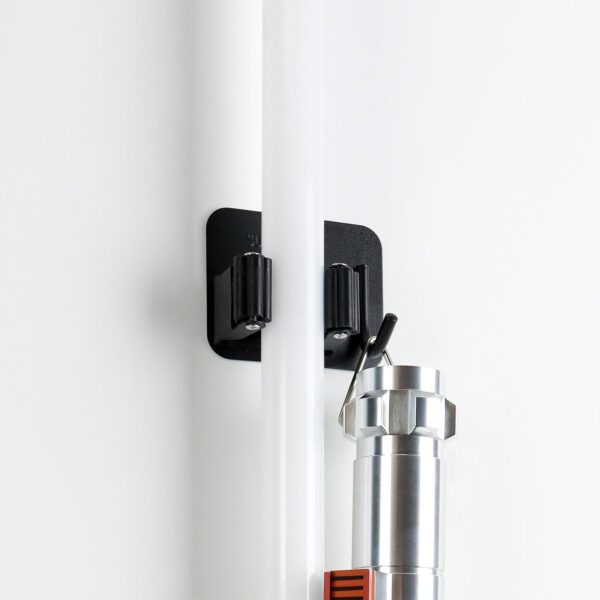
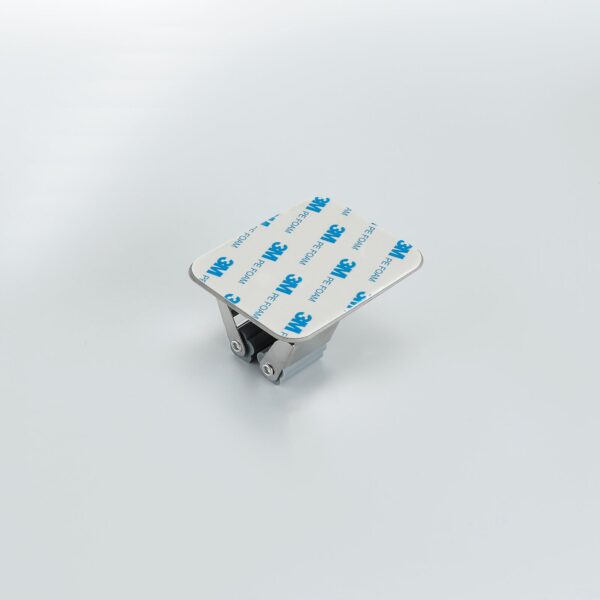
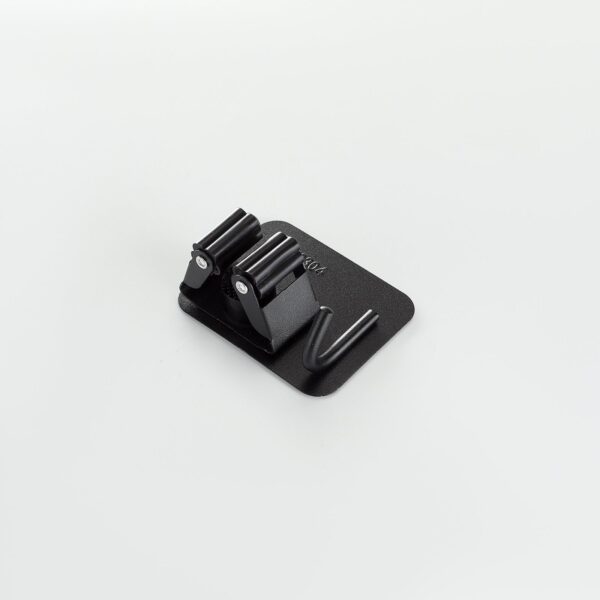
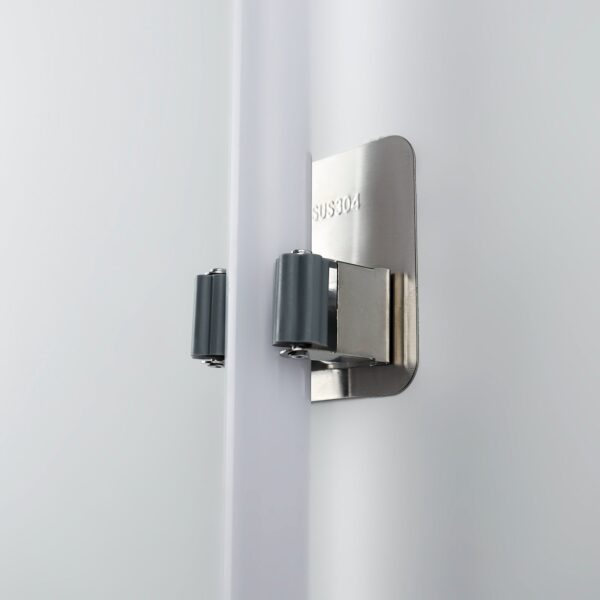
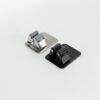
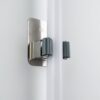
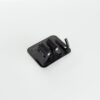
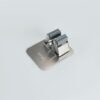
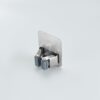
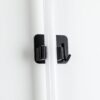
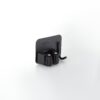
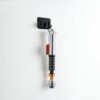
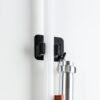
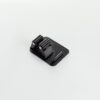
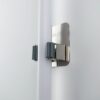
The ISABER Wall Hung Saber Mount holds your hilt upright against the wall — clamp arms grip the body, a metal hook supports the lower end, and a 3M adhesive backing does the mounting. No drill, no holes, no shelf footprint.
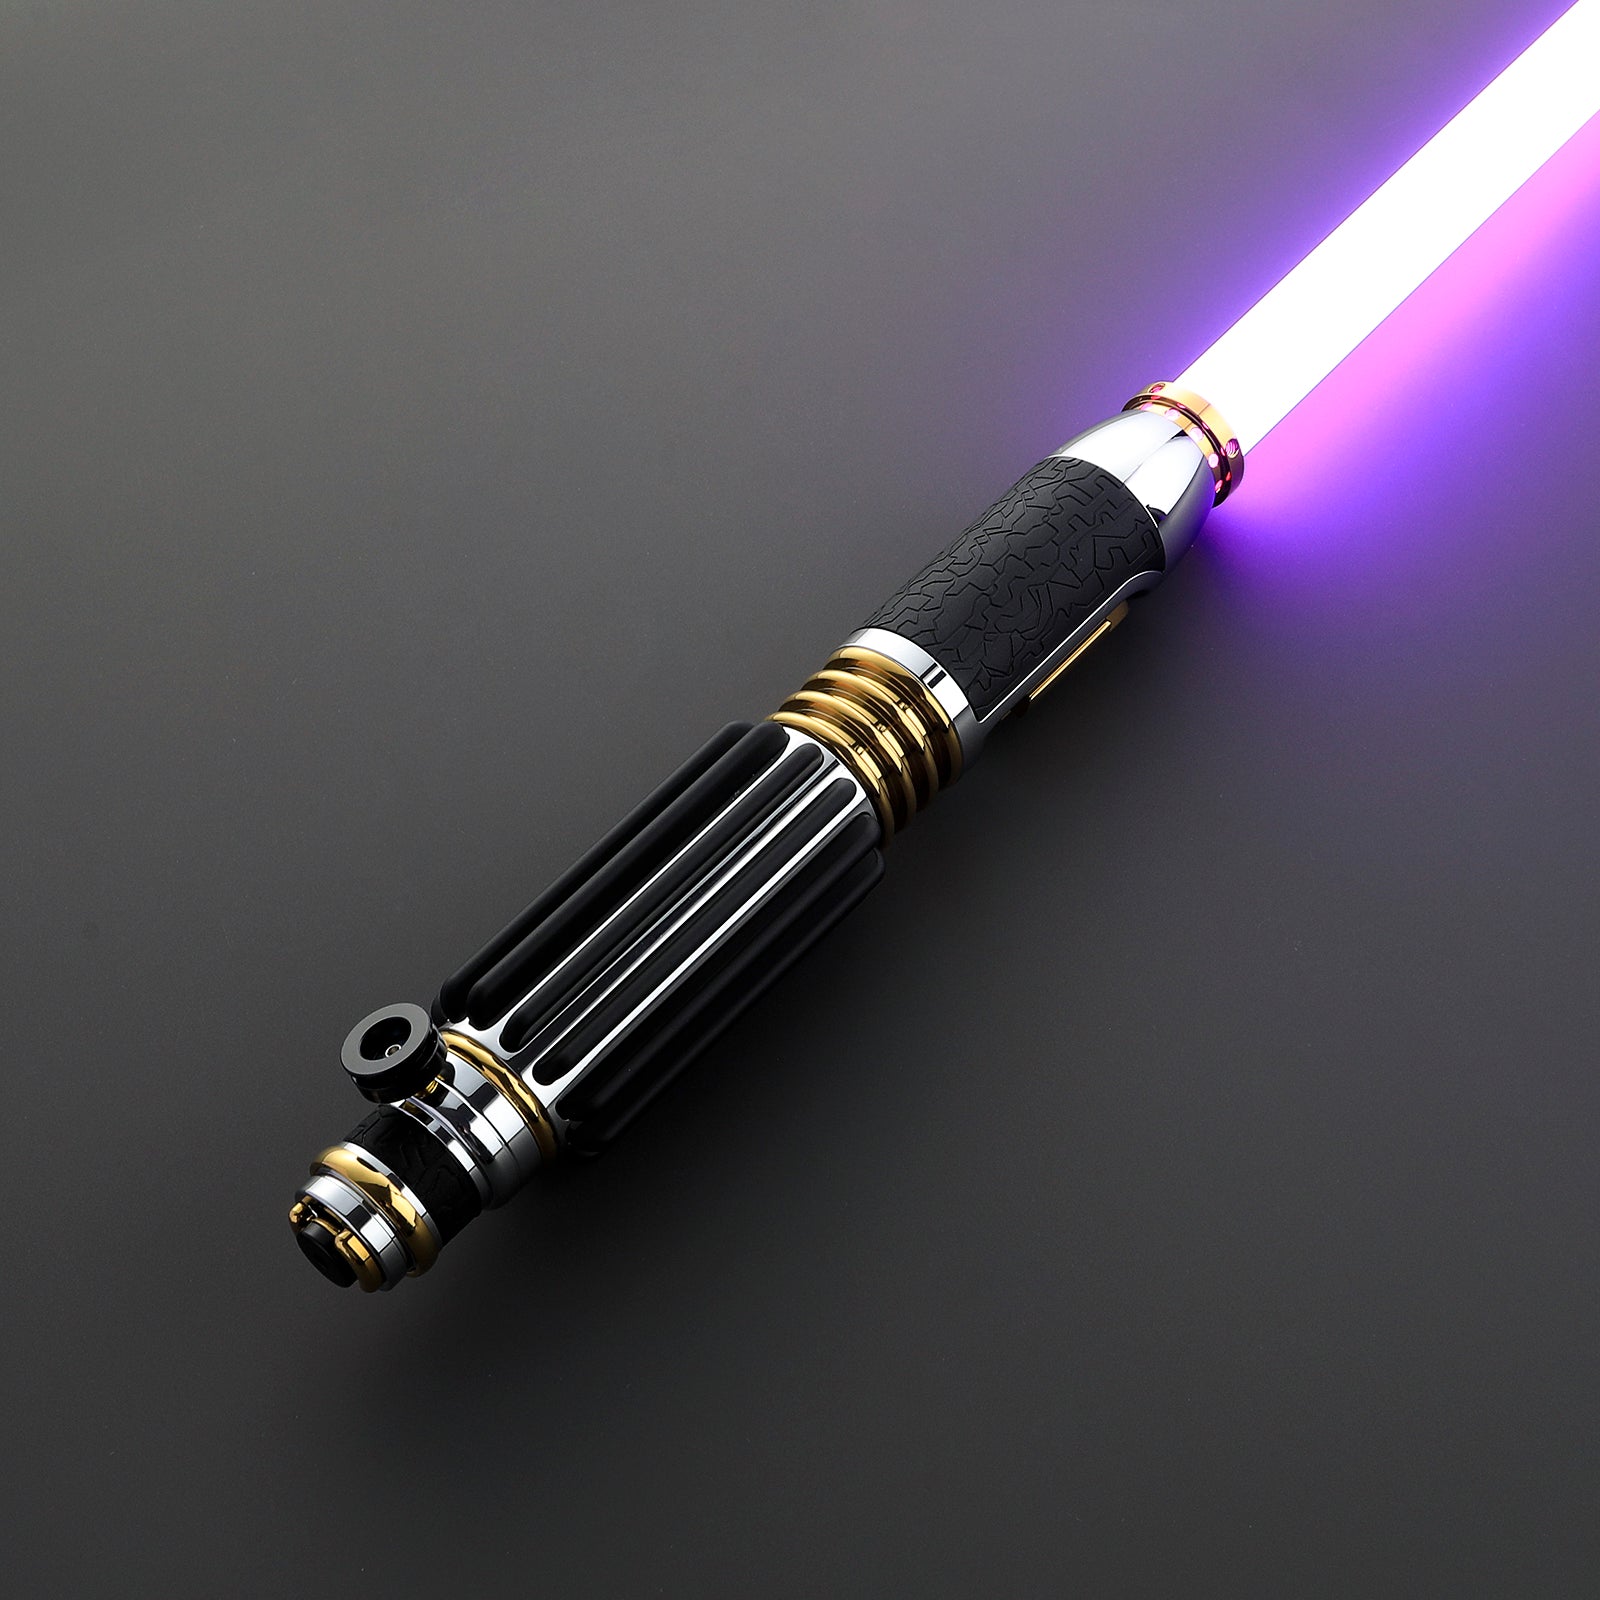
One thing up front: the saber in the photos isn’t included. You get the mount. You supply the hilt.
What Are the Specifications?
| Specification | Details |
|---|---|
| Product Type | Wall-hung hilt mount, vertical display |
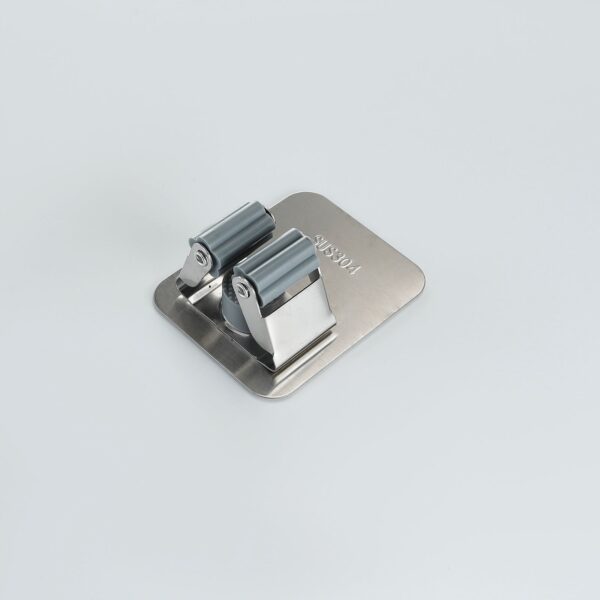
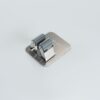
| Back Plate | Steel plate marked SUS304 (stainless steel), black powder-coated finish |
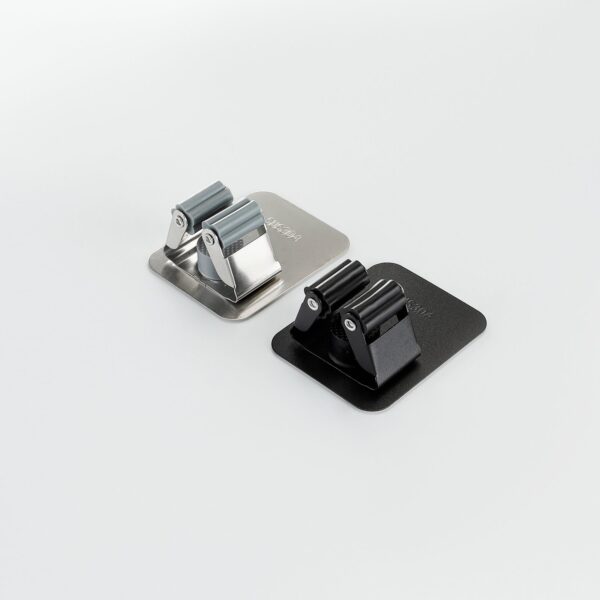
| Colors | Black / Gray |
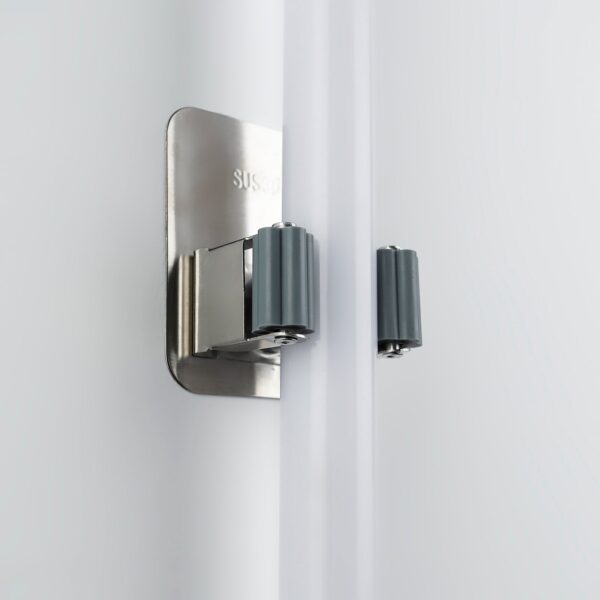
| Hilt Fit | Adjustable clamp arms with knobs — grips standard straight-body hilt bodies |
| Support | Metal hook under the hilt’s lower end |
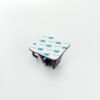
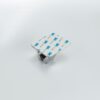
| Mounting | 3M adhesive backing with peel-off liner — no drilling |
| Display Orientation | Vertical — hilt upright against the wall |
Why Hang It?
Three reasons, in order:
- Zero desk footprint. Every shelf saber is shelf space that isn’t holding anything else. A wall-mounted hilt takes nothing from the desk.
- No roll-off accidents. A cradle sits where elbows go. A mount sits where elbows don’t.
- Eye-level display. A saber on a low shelf gets glanced at. A saber on the wall gets looked at — it’s at conversation height, not kneecap height.
How the Mount Works
It’s three parts doing three jobs. The plate carries the load, the arms hold the hilt, the hook keeps the bottom end from walking down.
The plate is the load bearer: SUS304 stainless steel with a black powder coat — the same steel grade stamped right on the plate. The arms and hook just keep the hilt honest.
Install Without a Drill
One afternoon minute of work, then a day of patience. That’s the whole install.
- Surface prep does the real work. The tape bonds to the wall, not to the dust on it. Alcohol wipe, let it dry, done.
- Press the whole plate, not the edges — you want even contact across the adhesive.
- The 24-hour wait isn’t optional theater. Foam adhesive reaches full bond strength about a day after application. Hang the hilt the same day and you’re testing the tape before it’s ready.
Wall Mount vs. Table Stand
Both keep a saber off the floor. The differences are about space and commitment.
Longer bar = more. The honest trade-off: a wall mount costs you one careful install and then stays put; a table stand moves anywhere in seconds but eats shelf space forever.
When Should You Choose (and NOT Choose) This Mount?
- Get this mount if: your shelf or desk space is already spoken for; you want the saber at eye level; you rent and drilling isn’t an option; you’ve got a smooth, painted wall ready to go.
- Skip this mount if: your walls are textured — brick, stucco, or heavy wallpaper won’t bond; you rearrange your display every month; you’d rather not leave adhesive on the wall; you want to display an assembled staff saber in one piece.
Care
- Dust the plate and arms with a dry microfiber cloth. Powder coat doesn’t need polish, it needs a wipe.
- Lift the hilt out of the clamp rather than pulling it down against the hook — the arms open at the top, so up and out is the natural path.
- Keep it out of humid rooms. A bathroom wall is working against both the adhesive and the finish.
- Check the clamp tension every few months. Knobs settle, and a loose arm is a slow-motion drop.
Frequently Asked Questions
Q1: Is the saber included?
A: No. The hilt in the photos is for illustration. You get the wall mount with its adhesive backing — you supply the saber.
Q2: Will the adhesive actually hold a saber?
A: Yes. 3M foam adhesive on a clean, smooth surface holds far more than a standard machined-aluminum hilt weighs. The usual failure point isn’t the tape — it’s the surface. Flaking paint, dust, or textured walls won’t bond no matter how good the tape is.
Q3: Will it damage the wall when I remove it?
A: It’s an adhesive, not a suction cup — expect to touch up paint on drywall. Remove it slowly: warm the plate with a hair dryer and peel at a low angle. Rip it off cold and fast, and paint comes with it.
Q4: Does it fit my hilt?
A: If you’ve got a standard straight-body hilt, yes. The clamp arms are adjustable and the knobs set the tension. Oversized custom bodies may not seat between the arms — if your hilt is wider than a typical saber body, this mount isn’t built for it.
Q5: Can I use screws instead of the adhesive?
A: The mount is built around its 3M backing — there are no pre-drilled screw holes. If your wall surface won’t take adhesive (textured, peeling, or damp), pick a different spot rather than modifying the mount.
Q6: Can I display it with the blade installed?
A: Yes. The hilt sits vertical with the blade pointing up. Check your ceiling clearance first — a 36-inch blade on a high mount reaches further than you’d think.
Q7: What about a double-bladed staff saber?
A: Don’t hang the assembled staff on one mount. Split it and hang each half on its own mount, or display the staff somewhere else. One clamp, one hilt — that’s the load it’s designed for.
Q8: Can I move it after I’ve mounted it?
A: Not really. The adhesive is a one-shot bond — plan the spot before you peel the liner. Moving it means fresh double-sided foam tape on the new spot and a touch-up on the old one.
Q9: Is it indoor-only?
A: Yes. Interior, dry, smooth surfaces. Humidity and temperature swings work against both the adhesive and the finish, so keep it off exterior walls and out of bathrooms.
Reviews
There are no reviews yet.