ISABER Lightsaber Soundboard Kit — Neopixel Proffie 2.2 / RGB Upgrade Core
Swapping a soundboard isn’t plug-and-play. But if you’re willing to solder, it’s the single biggest upgrade you can make to a saber.
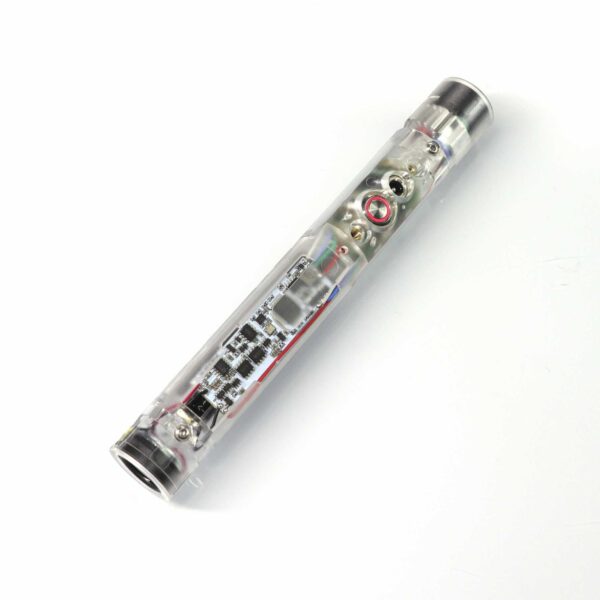
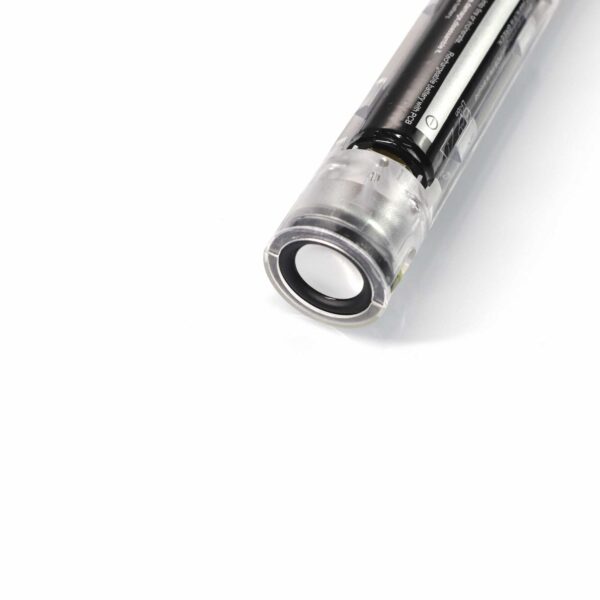
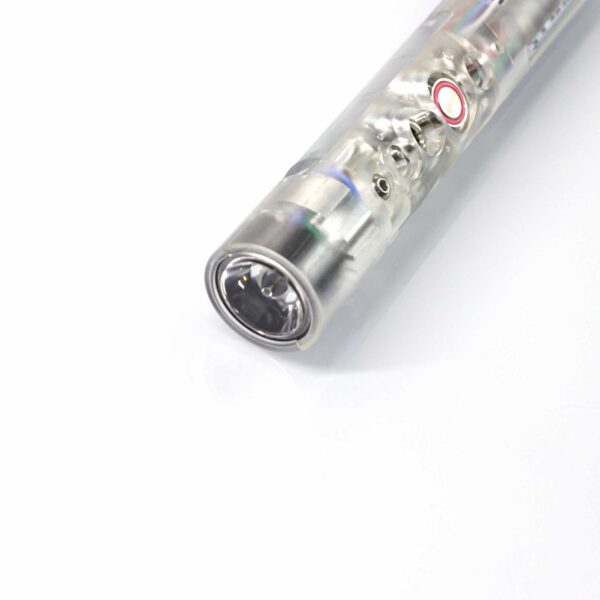
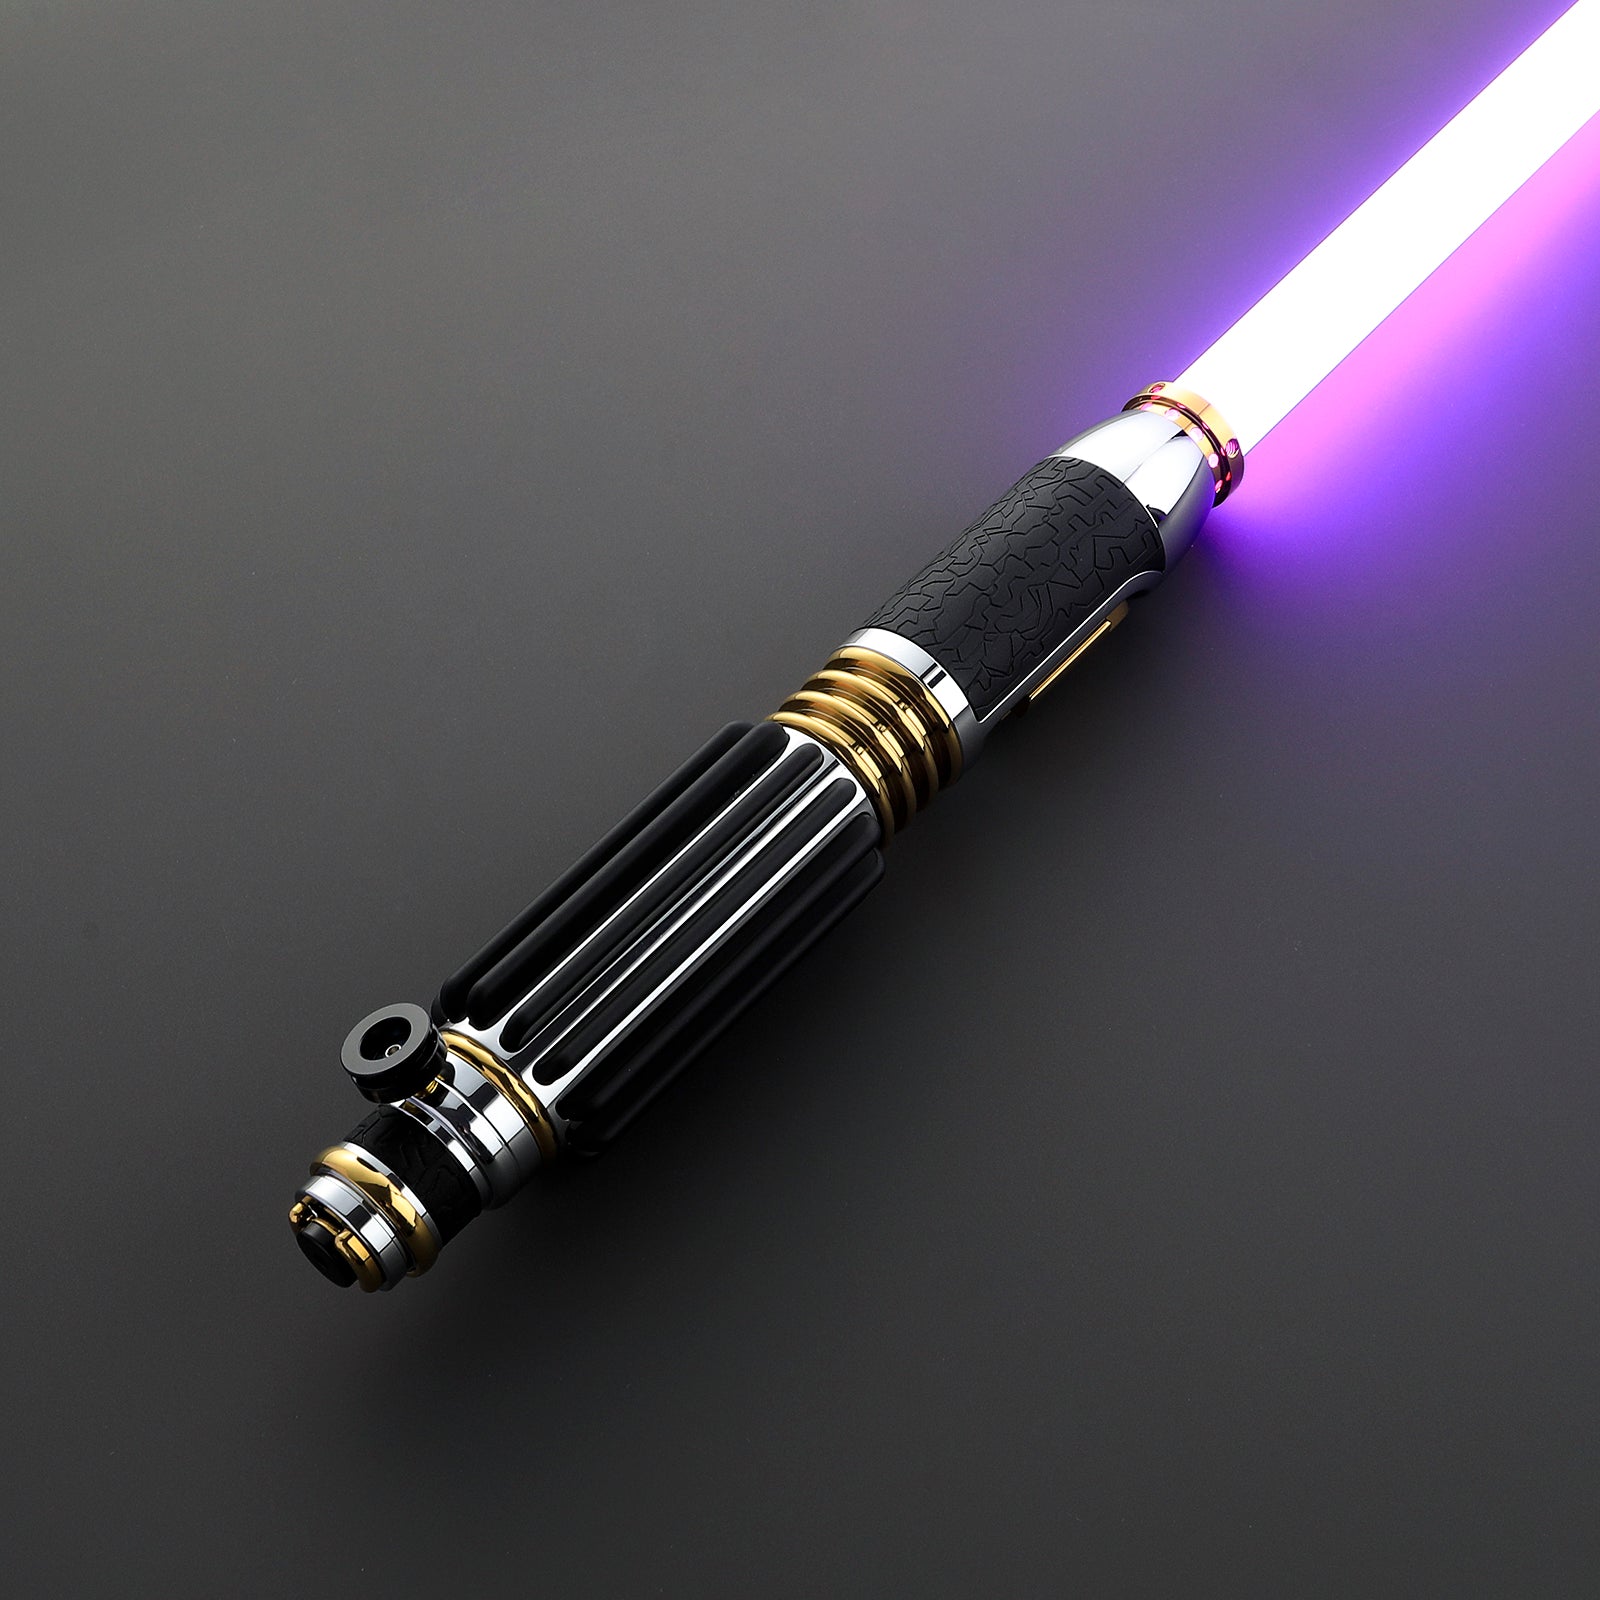
ISABER carries two soundboard kits: a Neopixel Proffie 2.2 kit for full customization and unlimited blade styles, and an RGB Baselit kit for upgrading or replacing the core electronics in a standard in-hilt LED saber. Both include the soundboard, a 25mm speaker, battery holder with harness, and mounting hardware. Both require soldering and basic electronics knowledge.
If you’ve never touched a soldering iron, this is not the product to start with. If the words “jumper wire” and “heat shrink” don’t scare you, keep reading.
What Are the Specifications?
| Specification | Neopixel Proffie 2.2 Kit | RGB Baselit Kit |
|---|---|---|
| Soundboard | Proffieboard 2.2 (open-source) | RGB soundboard with smooth swing |
| Saber Type | Neopixel | RGB Baselit (in-hilt LED) |
| Blade Compatibility | Neopixel blade only (not included) | Standard hollow RGB blade (not included) |
| Sound Fonts | Unlimited via SD card | Multiple pre-installed fonts |
| Customization | Full: blade styles, ignition, effects, gesture controls — all programmable via Arduino IDE | Pre-configured effects and color options |
| Bluetooth | No | No (basic kit) / varies by board |
| Skill Level | Advanced — soldering + Arduino IDE required | Intermediate — soldering required |
| Kit Includes | Proffie 2.2 board, 25mm speaker, battery holder + harness, mounting hardware | RGB board, 25mm speaker, battery holder + harness, mounting hardware |
| Hilt Compatibility | Standard 1-inch ID hilts with ≥8cm free chassis space | Standard 1-inch ID hilts with ≥8cm free chassis space |
| Pre-flashed | Yes — OS7 with starter config | Yes — pre-configured |
| SD Card | Included | Included (varies by board) |
Proffie 2.2: Build Your Own Blade
The Proffieboard 2.2 is the enthusiast standard. Open-source firmware. Unlimited blade styles — you design the ignition, you mix the fonts, you tune every parameter. It’s the same board that ships in ISABER’s high-end character replicas, available here as a standalone kit for DIY builds and upgrades.
What you get: smooth swing with real-time motion response, gesture controls (tip drag, stab, melt, blaster deflection, lock-up), unlimited sound font slots via SD card, and full control over every visual detail of your blade. Pre-flashed with OS7 and a starter config so the board boots and works out of the box. Customize from there via USB-C and the Arduino IDE.
What you need: a soldering iron, solder, wire cutters, heat shrink tubing, hex wrenches, and a USB-C cable. Plus time. A first-time Proffie install typically takes an afternoon. A re-install (swapping an old board for a Proffie) goes faster — the wiring layout is similar across most boards.
Important: You Need a Neopixel Blade
The Proffie 2.2 drives Neopixel LED strips. If you’re upgrading from an RGB Baselit saber, you must also buy a Neopixel blade — your old hollow blade won’t work. The Proffie sends data through pogo pins to LEDs inside the blade. A hollow polycarbonate tube has no electronics to receive that signal.
RGB Baselit Kit: Core Replacement, No Blade Change
The RGB kit is a straightforward swap: pull the old board, solder in the new one, keep your existing blade. It drives a standard in-hilt LED module with smooth swing sound response. Pre-configured color options and effects are built in — no programming, no config files, no Arduino.
This is the kit for fixing a dead board, upgrading a budget saber’s sound, or building a simple RGB hilt from scratch. Less powerful than Proffie. Also less complicated. If Proffie is a full recording studio, the RGB kit is a solid amplifier. It does one thing and does it reliably.
Pre-Installation Checklist
Before you order, check these three things. Returns on opened electronics kits aren’t accepted once solder has been applied.
- Measure your chassis space. You need at least 8cm of free internal length in your hilt’s chassis area. Unscrew your hilt and measure. If the internal cavity is shorter than 8cm, the kit won’t fit without chassis modification.
- Confirm your hilt ID. Standard is 1-inch internal diameter. Most ISABER hilts and custom sabers use this. Budget toy sabers, thin-neck designs, and some older hilts may not.
- Check your blade type (Proffie only). If you’re ordering the Neopixel Proffie kit, confirm you have or are buying a Neopixel blade. The kit does not include one.
When Should You Get (and Skip) a Soundboard Kit?
Get this if:
- Your current board is dead. No power. No sound. Flickering. A new soundboard is cheaper than a new saber — if you can install it.
- You’re building a saber from scratch. Hilt body, switch, battery, blade — the soundboard is the last big piece. This kit bundles the board with a matched speaker and battery harness so you don’t source parts separately.
- You want Proffie features on a budget. A Proffie-equipped saber from a shop runs $300+. The board itself, plus an afternoon of soldering, gets you the same electronics for a fraction of that. The trade is your time and labor.
Skip this if:
- You’ve never soldered. This is not a beginner project. Practice on a $10 electronics kit first. A bad solder joint on a Proffieboard means a board that doesn’t boot — or worse, a short that fries the board entirely.
- Your saber works fine and you don’t want to open it. Upgrading a working board is a hobby project. If you’re happy with your current sound and effects, leave it alone.
- You don’t own a soldering iron. The cost of a decent soldering station ($40–$80), plus solder, flux, helping hands, heat shrink, and practice materials, adds up. If this is a one-time project, a pre-wired drop-in core might be a better fit — ISABER sells complete chassis cores for most hilt models.
Frequently Asked Questions
Q1: Will this fit my hilt?
A: It fits standard 1-inch internal diameter hilts with at least 8cm of free chassis space. Most ISABER hilts are compatible. Thin-neck designs, crystal chamber hilts, and budget toy sabers may not have enough room or the right mounting points. Measure before ordering.
Q2: Is the Proffie pre-flashed?
A: Yes. The Proffie 2.2 arrives pre-flashed with OS7 and a starter configuration. It boots and works out of the box. You customize blade styles, sound fonts, and effects later via USB-C and the Arduino IDE.
Q3: What tools do I need?
A: Soldering iron, rosin-core solder, wire cutters/strippers, heat shrink tubing, hex wrenches (for disassembling the hilt), and a multimeter (for checking connections). Proffie kit additionally: USB-C data cable and a computer with Arduino IDE installed.
Q4: Can I upgrade from the RGB kit to Proffie later?
A: Yes. The wiring connections for the speaker, battery, and switches are the same across most soundboards. You’d desolder the RGB board, solder in the Proffie, and add pogo pins for the Neopixel blade connector. You’ll also need to buy a Neopixel blade at that point.
Q5: Does the Neopixel kit include a blade?
A: No. The kit includes the soundboard, speaker, battery holder, and mounting hardware only. You need a Neopixel blade separately. If you’re upgrading from RGB, your existing hollow blade won’t work with the Proffie — you must also buy a Neopixel blade.
Q6: Are instructions included?
A: Printed wiring diagram included. Video walkthroughs available on the ISABER website. The wiring follows standard saber electronics conventions: labeled pads for battery positive/negative, speaker, switch, and LED/Neopixel output. If you’ve wired one saber board, you can wire this one.
Q7: What happens if I mess up the soldering?
A: A bad solder joint means the board won’t function or will behave erratically. A short (power touching ground) can destroy the board instantly. Use a multimeter to check every connection before applying power. Heat shrink every exposed joint. If you’re not confident, a local electronics repair shop or a saber community member can do the install for you.
Q8: How long does installation take?
A: First-time Proffie install: 3–5 hours including disassembly, soldering, testing, and reassembly. RGB kit: 1–2 hours. Replacing an existing board with the same type: half those times. Most of the time is in careful soldering and testing — not in actually turning screws.
Reviews
There are no reviews yet.