
A lightsaber charger comes in two forms: the wall adapter and cable you plug into a port built into the hilt, or a separate holder that charges the cell outside the saber. Which one you have decides how you charge, how long it takes, and what most charging faults actually are.
Most people never think about this until something stops working. Then the question is always the same one, and it is usually aimed at the wrong part.
Charging faults are rarely mysterious. They trace back to one of a handful of causes, and the charger itself is often the least likely of them.
This page covers what a charger has to do, how the current and voltage numbers work, how charging knows when to stop, what the lights mean, and the faults worth checking in order before you blame the charger.
What’s on This Page
- Two Ways to Charge a Lightsaber
- What Cells a Charger Has to Handle
- Charging Current and the Rate Rule
- Input and Output: What the Numbers Mean
- How Charging Decides to Stop
- The Protection a Good Charger Carries
- Indicators and What They Are Telling You
- Why a Saber Stops Charging
- Port Charging Versus an External Charger
- Frequently Asked Questions
Two Ways to Charge a Lightsaber
There are two charging routes and they are not interchangeable in practice. One runs power into a port built into the hilt and on to the cell inside; the other removes the cell and charges it on a separate holder while the saber sits idle.
The first route needs nothing but a cable, which is why it became the default. The second needs you to open the hilt, which is why people avoid it until the first route gives them a reason to.
The route you have is a property of the hilt, not a preference. A saber with a built-in port cannot be charged on an external holder without removing the cell, and a saber with no port has to be opened every time.
That single fact decides the rest of the subject, so it is worth knowing which one you own before reading the sections below.
| Route | What it needs | What it is good at |
|---|---|---|
| Port charging | A cable and a USB source, no tools | Topping up without opening the saber |
| External charging | A holder sized to the cell, and access to the battery | Charging a spare cell off the saber, so the saber is never down |
Neither route is faster by design. The speed comes from the current the charger supplies and the capacity of the cell, not from which route you took.
What Cells a Charger Has to Handle
Lightsabers run on cylindrical lithium-ion cells, and the size in your hilt is the first thing a charger has to match. Common sizes are 18650, 21700, 14500 and 18350, and they differ in diameter, length and capacity.
The numbers in those names are dimensions. An 18650 is roughly eighteen millimetres across by sixty-five long; a 21700 is twenty-one by seventy. The name tells you whether it will even fit.
A charger sized for 18650 will not accept a 21700 without strain, and a spring-contact holder that fits both will often rattle a smaller cell into a poor connection.
Capacity is a separate number and it is written in milliamp hours. The same physical size can hold more or less energy depending on the cell inside it.
Rated current is the third number, and it is the one people miss. A cell that can deliver a high current for a bright blade is not the same as a cell that stores the most energy, and the two often pull in opposite directions.
| Cell name | Approximate size | Where it tends to appear |
|---|---|---|
| 14500 | 14 × 50 mm | Older or smaller electronics, lower output |
| 18350 | 18 × 35 mm | Short hilts and stacked pairs |
| 18650 | 18 × 65 mm | The common standard for modern electronics |
| 21700 | 21 × 70 mm | Higher-capacity or higher-draw builds |
Match the size first and the electrical rating second. A charger that grips the cell properly but cannot deliver enough current will still leave you with a saber that dims early.
Charging Current and the Rate Rule
Charging current is measured in amps, and the safe range for a cell is usually expressed as a fraction of its capacity. A common guideline is to charge at half an amp per amp-hour of capacity, which puts a typical cell in the region of one to two amps.
Treat that as a ceiling rather than a target. Charging a small cell as if it were a large one is the fastest way to shorten its life, and a charger that ignores capacity will do exactly that.
High-drain cells are the wrinkle. A cell built to deliver a burst of current for a bright blade can be charged at the higher end comfortably, while a high-capacity cell built for runtime prefers the lower end.
This is why a charger with selectable current is worth more than one with a single fixed rate. It lets you match the rate to the cell rather than forcing the cell to accept one rate.
The slower the charge, the gentler the cell. If you can charge overnight, there is rarely a reason to push the rate up, because the difference in time is small and the difference in wear is not.
Input and Output: What the Numbers Mean
A charger has two ratings that matter. The input is what it draws from the wall, almost always five volts over USB at one or two amps. The output is what it delivers to the cell, which is a steady voltage around four point two volts at the chosen current.
The output voltage is not a free choice. A lithium-ion cell charges to a fixed ceiling, and the number is a property of the cell chemistry rather than the charger.
The input rating is where mistakes happen. A charger is built expecting a supply within a certain range, and feeding it more than it expects is how a cell and a board both get damaged.
This is the practical reason to avoid the highest-output fast chargers meant for phones. They can push a protocol and a voltage the saber’s charging circuit was never built for.
| Rating | Typical value | What it controls |
|---|---|---|
| Input voltage | 5 V over USB | What the supply has to provide |
| Input current | 1–2 A recommended | How fast the charger can work |
| Output voltage | About 4.2 V, fixed | Set by the cell chemistry, not chosen |
| Output current | Matches the cell rating | How quickly the cell fills |
Match the input to what the device expects and let the output look after itself. If a saber ships with a cable and an adapter, that pairing is the specification, not a suggestion.
How Charging Decides to Stop
Charging runs in two stages. Most of the time is spent pushing a steady current into the cell while its voltage rises; the last part holds the voltage at its ceiling while the current tapers away. Charging is finished when that current falls to a small fraction of what it started at.
Understanding the two stages explains most of what the lights do, and it explains why the last ten percent takes so long.
The first stage is the fast one. The charger supplies a constant current, and the cell’s voltage climbs steadily toward its ceiling.
The second stage is slow by design. Once the ceiling is reached, the charger holds the voltage there and the current falls on its own. This is what stops the cell from being overfilled.
The two lines cross the process from opposite directions. In the first stage the current is the fixed quantity and the voltage climbs; in the second the roles reverse, and the point where the current runs out of room is where charging stops.
This is why a cell that reads full can still need a few more minutes. The voltage ceiling arrives well before the current has finished tapering, and the charger waits for the current, not the voltage.
It also explains why the last stretch feels slow. Most of the capacity goes in during the first stage; the second stage spends its time finishing the job gently.
The Protection a Good Charger Carries
A well-built charger guards against four things: overcharging past the voltage ceiling, discharging the cell too far, a short circuit across the output, and heat. The cell itself may also carry its own protection, and the two layers are not the same.
Protection can live in two places, and knowing which you have matters when something goes wrong.
A protected cell carries a small circuit of its own, which cuts the connection if the cell is pushed too hard. An unprotected cell relies entirely on the charger and the device to behave.
The trade is space and capacity. A protected cell is slightly longer, because the protection circuit takes room, and that extra length can matter in a tight hilt.
| Risk | What protects against it |
|---|---|
| Overcharge past the ceiling | Charger termination, or the cell’s own circuit |
| Over-discharge below about 2.5 V | The cell’s circuit, or the device cutting off |
| Short circuit on the output | Charger protection, and the cell’s circuit |
| Heat during charge | Charger temperature control and current limiting |
Two layers are better than one, but only if both are real. A charger that claims protection and a cell that carries a circuit give you a margin; a plain charger and an unprotected cell leave nothing between the cell and a mistake.
Indicators and What They Are Telling You
The lights on a charger report exactly one thing: the state of the charging process, not the health of the cell. A steady light usually means charging is under way, and a change to a second colour or to off means the process has finished.
Reading them correctly is the difference between a five-minute diagnosis and a wasted evening.
A charger going straight to its finished state is a signal, not a success. It usually means the cell is not making contact, so the charger sees an open circuit and reports it as done.
The same reading can mean the cell is already full, which is why the first thing to check is whether you just charged it.
Some sabers announce the same information through the device itself rather than the charger, with a tone or a button light that goes out when the cell is full.
When the two disagree, trust the one attached to the cell. A charger light reports what the charger is doing; a saber light reports what the board is receiving, and the board is closer to the cell.
Why a Saber Stops Charging
When a saber will not charge, the cause is usually a poor contact, a cell that has been discharged too far, or a supply the charger cannot use. A genuinely dead charger is possible, but it is further down the list than most people expect.
Work through them in order, because the cheap explanations come first.
A loose cell is the most common cause by a wide margin. The spring contact at the end of the slot can sit slightly flat, and a cell that does not press against both terminals will look like a finished charge.
The fix is to open the saber or the holder, reseat the cell, and check that both ends are firmly touching rather than resting.
Next is the supply. A charger built for a five-volt supply will misbehave on a source that does not provide it, and a high-output phone charger is a common culprit rather than a solution.
A cell left flat for a long time may not recover on its own. Discharging below the safe floor can damage a cell permanently, and a charger with a reactivation step is the only thing that sometimes brings one back.
| Symptom | First thing to check | If that is fine |
|---|---|---|
| Light shows full at once | Reseat the cell so both terminals touch | Test the cell’s voltage on its own |
| Nothing happens at all | The cable and the supply, then the wall outlet | Check the port is wired and seated |
| Charges only while plugged in | The cell, tested away from the saber | Suspect the port or the board |
| Takes far longer than before | A worn cable or a weak supply | Consider that the cell is ageing |
The order is deliberate. Contact, supply and cell account for almost everything, and the port and board come last because they are the hardest to check and the least often at fault.
Port Charging Versus an External Charger
Port charging is convenient and keeps the saber sealed; an external charger is slower to set up but lets you keep a spare cell ready and take the charging process off the saber entirely. The right answer depends on how often you use the saber, not on which is newer.
Both routes have a cost, and the cost is different in each case.
Port charging trades access for convenience. You never open the hilt, but everything depends on the port, its wiring and the charging circuit behind it, none of which you can see.
An external charger trades convenience for visibility. You handle the cell directly, which is slower, but every part of the process is in front of you.
| Consideration | Port charging | External charger |
|---|---|---|
| Setup | Plug in a cable | Open the hilt, remove the cell |
| Spare cell | Not practical during use | Straightforward, keep one ready |
| Visibility of the process | Hidden inside the saber | Directly in front of you |
| Depends on | The port, its wiring, and the board | The charger and the cell |
For a display saber that rarely leaves the shelf, port charging is enough. For a saber that gets used hard, a spare cell and an external charger remove the downtime entirely.
Whichever route you rely on, the same rule holds: match the charger to the cell, keep the supply within what the device expects, and treat a finished light as information rather than proof.
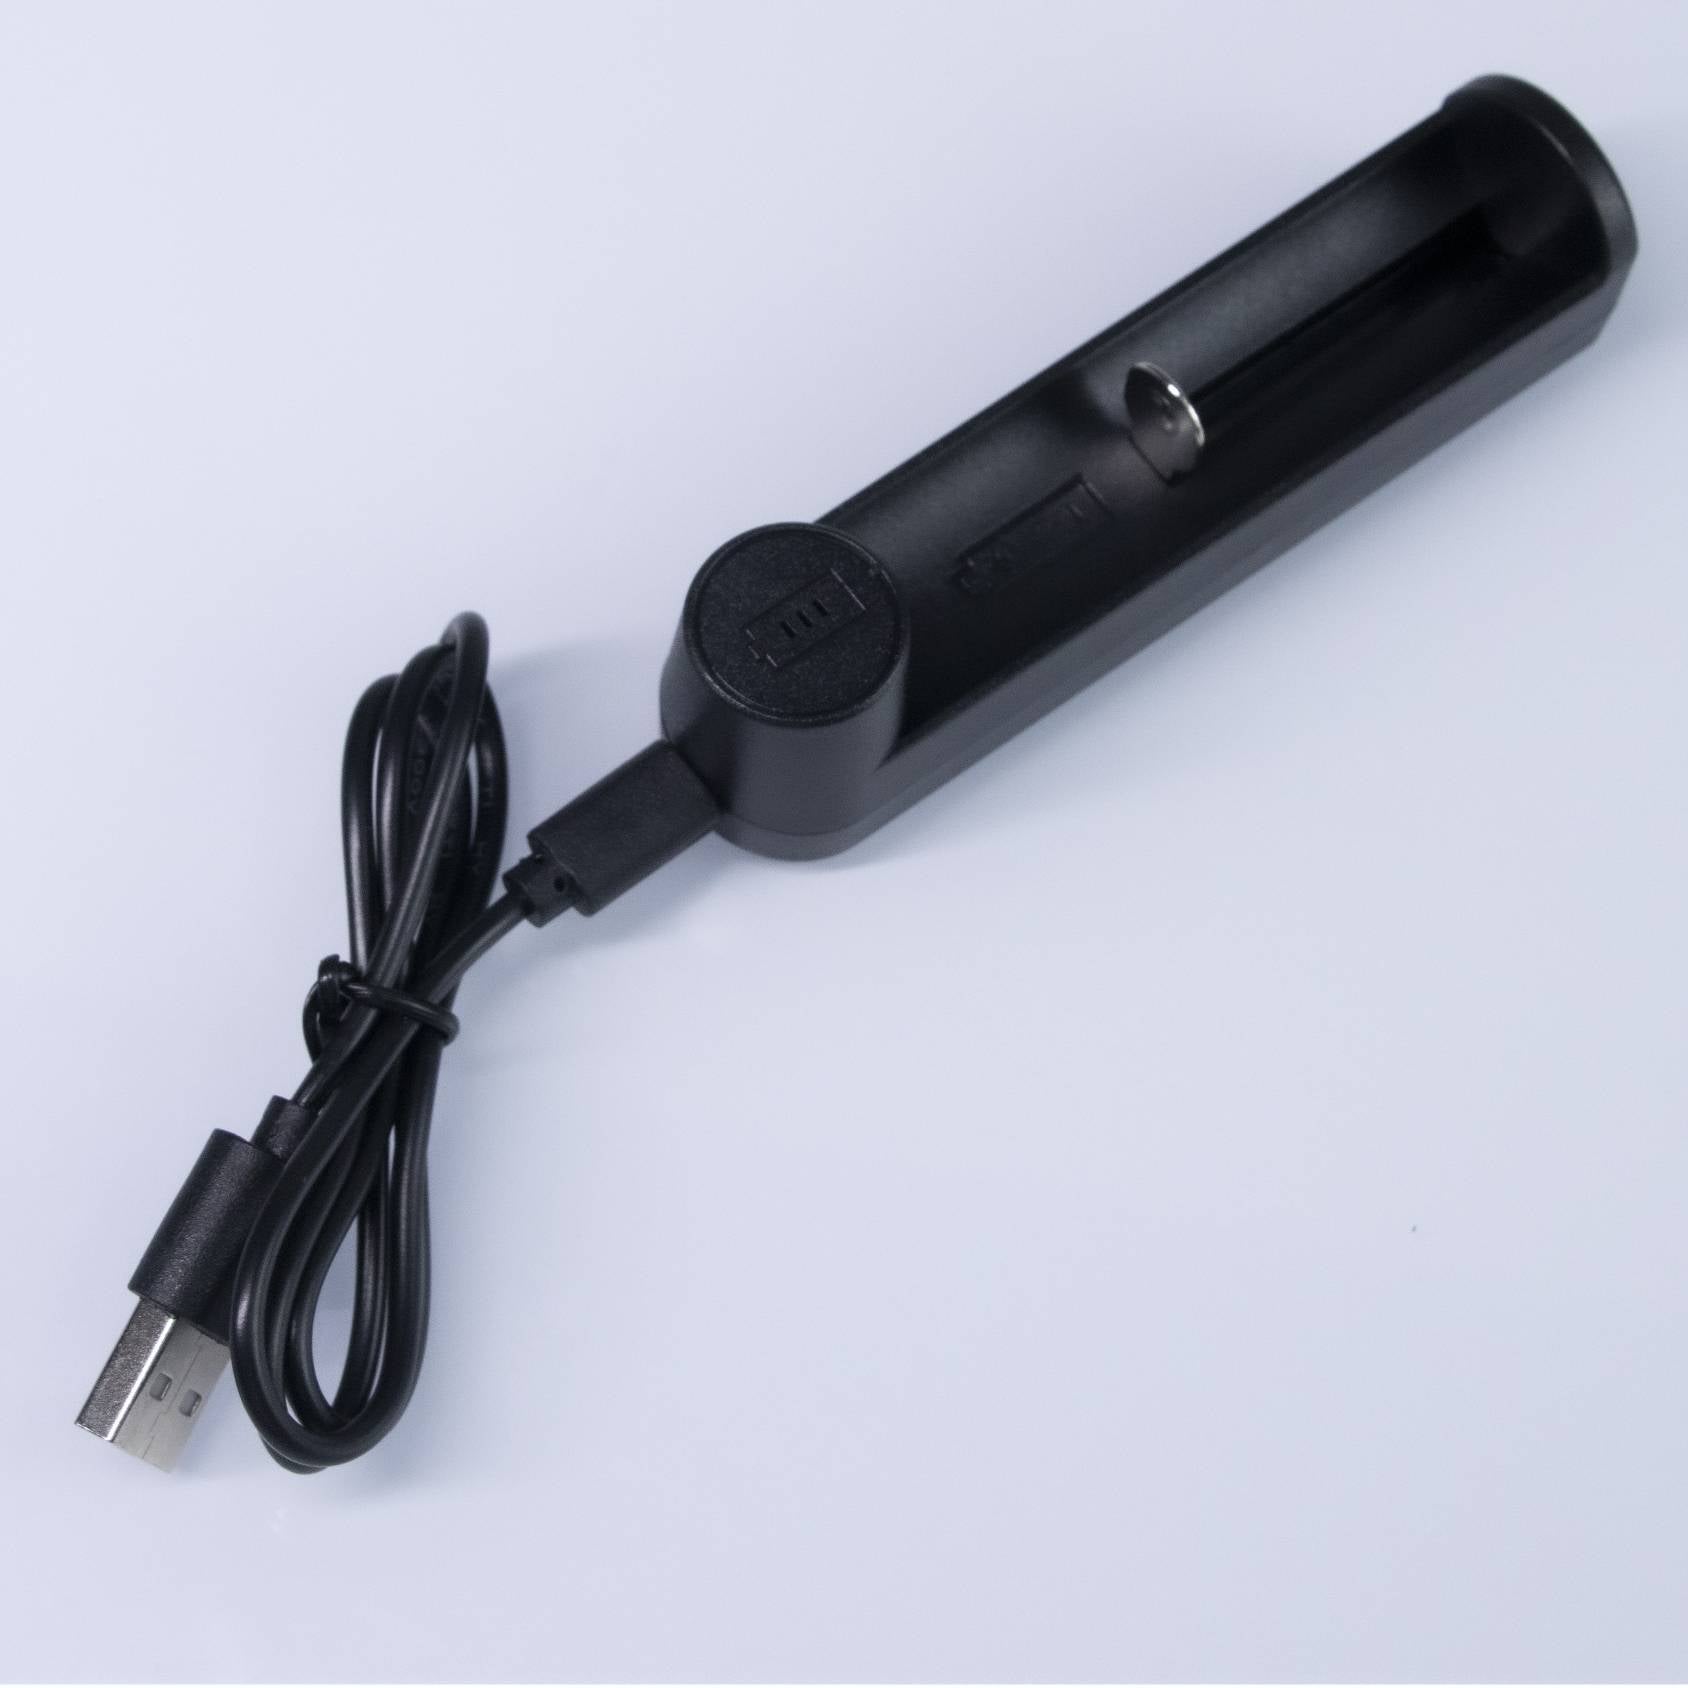
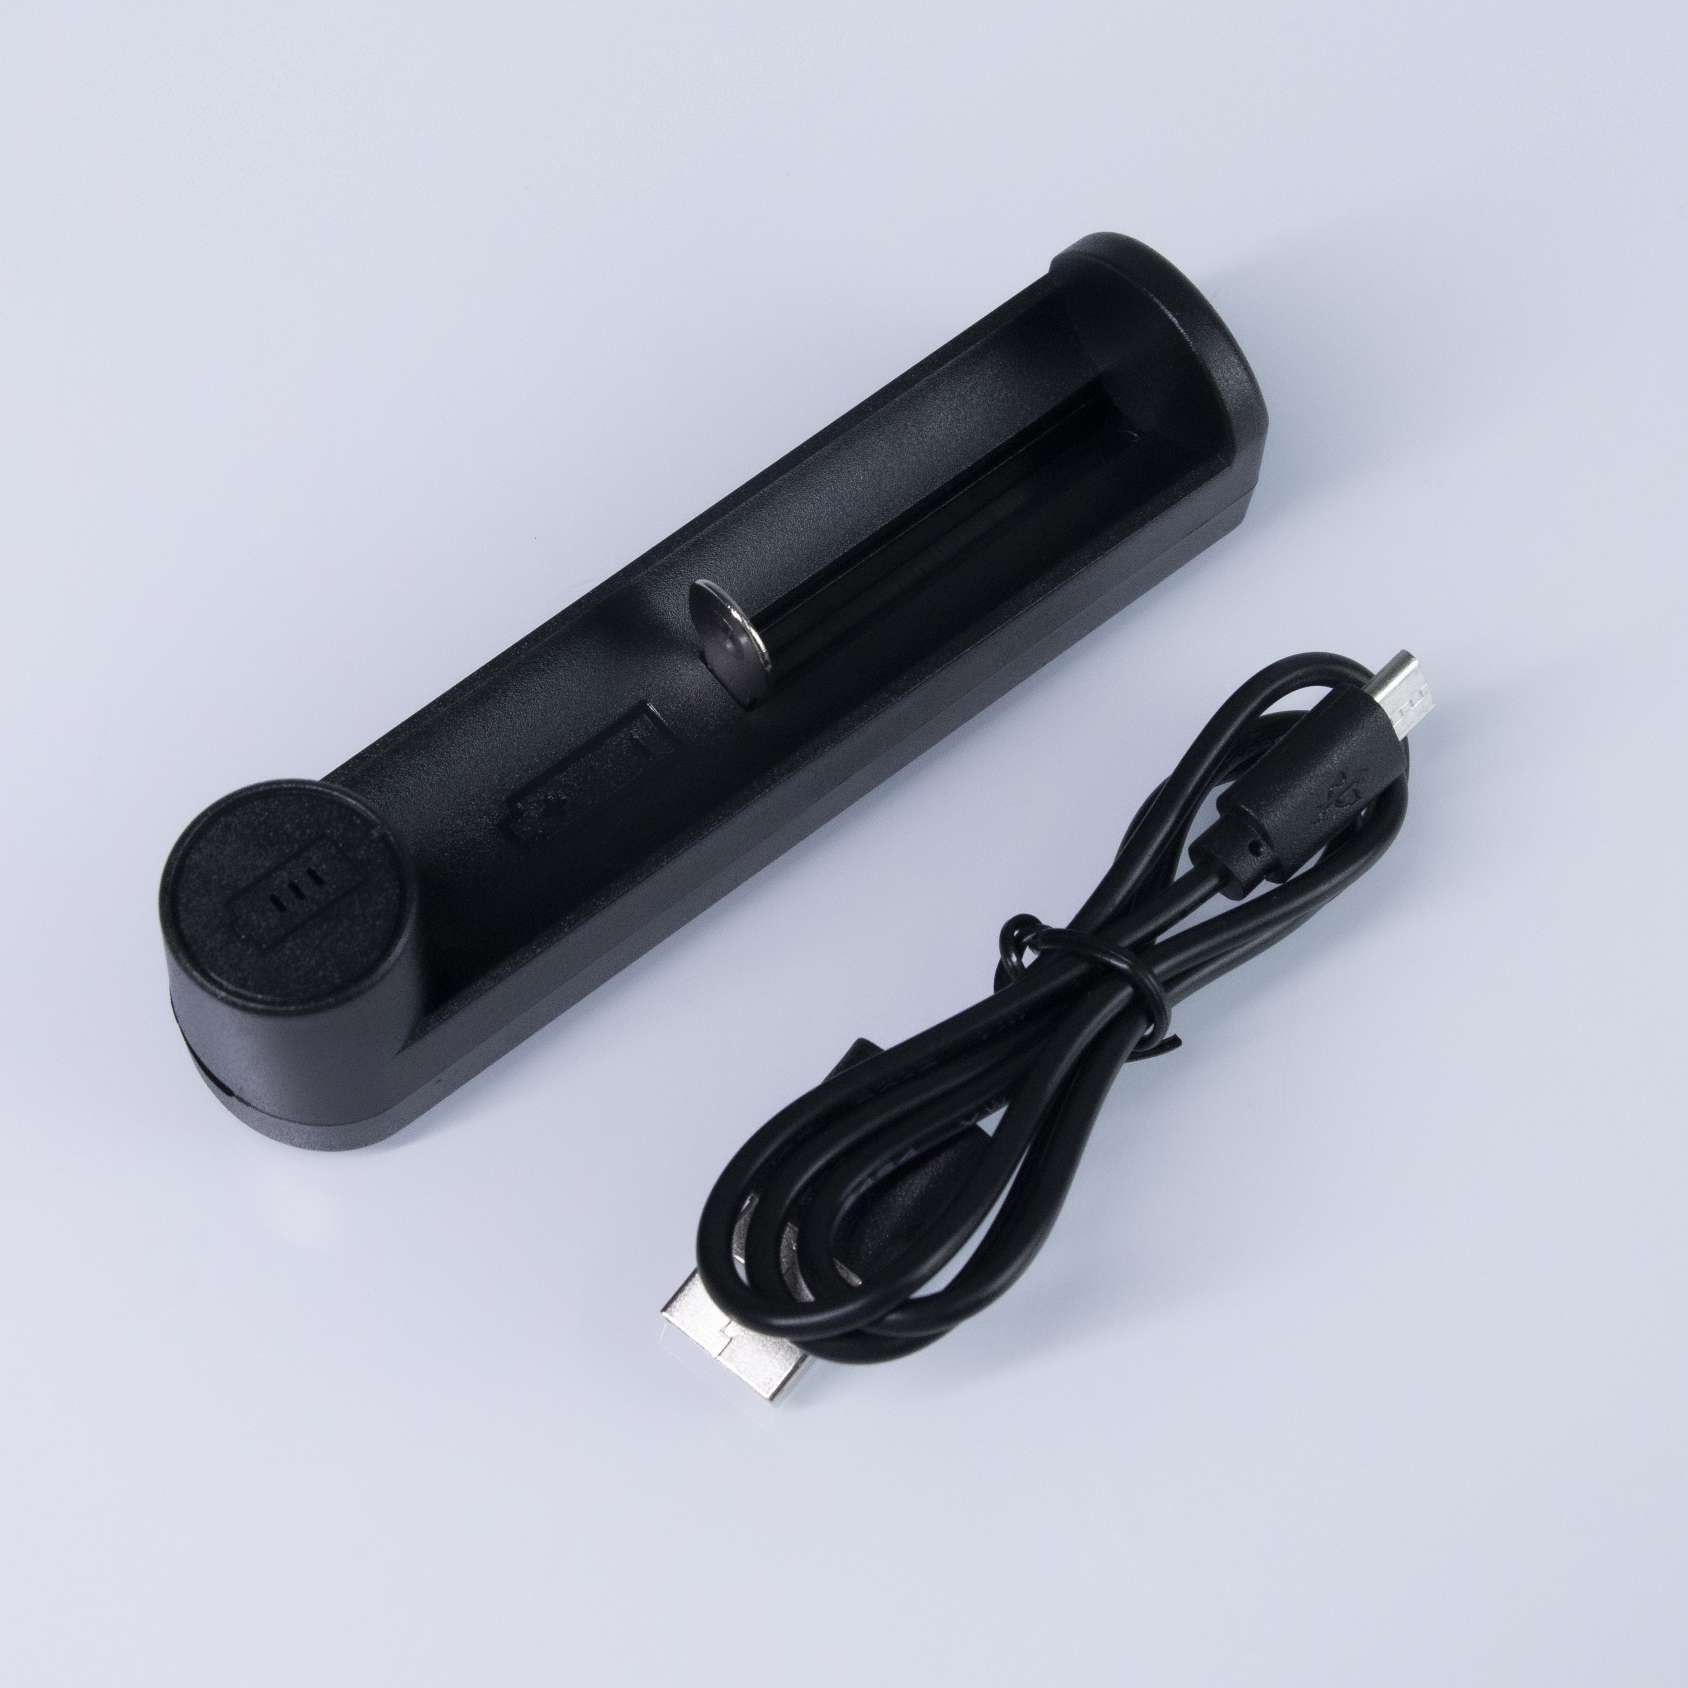
ISABER Lightsaber Battery Charger — USB-C 18650 Charger
Accessories / RGB & Baselit Lightsabers
Frequently Asked Questions
Q1: How long does it take to charge a lightsaber?
A: Somewhere between two and five hours for most setups, depending on the cell’s capacity and the charging current. A large cell charged gently takes longest, and a fully discharged one takes longer than a top-up. Budget at least two hours for a part charge and four or more from empty. The last part is the slowest, because the current tapers as the cell fills.
Q2: Why does my charger show full immediately?
A: Nearly always because the cell is not making contact. If the cell does not press against both terminals, the charger sees no load and reports it as finished. Open the saber or the holder, reseat the cell, and check both ends are firmly touching rather than just resting.
Q3: Can I use my phone charger?
A: Only if it supplies the voltage the charger expects, which is normally five volts. High-output fast chargers built for phones can push a protocol the saber’s circuit was not designed for, and that is how boards and cells get damaged. The adapter that came with the saber is the safe choice.
Q4: How often should I charge the battery?
A: For a saber in regular use, top it up before it runs flat rather than after. For one in storage, charge it at least once a month and keep it around half full, because a cell left flat for a long time can be damaged permanently. Remove the cell entirely if the saber will sit unused for months.
Q5: Do I need a protected cell?
A: A protected cell carries a small circuit that cuts the connection if the cell is pushed too hard, which adds a layer of safety on top of the charger. It is slightly longer because of that circuit, so check it fits the hilt. An unprotected cell relies on the charger and the device to behave correctly.
Q6: Why does the last ten percent take so long?
A: Because charging runs in two stages. The first pushes a steady current and fills most of the cell quickly. The second holds the voltage at its ceiling and lets the current fall away slowly, which is what stops the cell from being overfilled. The slow finish is the safety margin working.
Q7: Is port charging worse than an external charger?
A: Neither is worse in principle. Port charging is more convenient and keeps the saber sealed. An external charger lets you keep a spare cell ready and keeps the charging process visible. The right choice depends on how hard you use the saber, not on which is newer.
Q8: Why does my saber charge but then run down quickly?
A: Two things to check. First, whether the cell is genuinely holding a full charge or just showing one, which you can test by measuring its voltage on its own. Second, whether the saber is drawing current while switched off, which drains a cell between sessions. A cell that fills quickly but empties quickly is usually the second case.
Q9: Can I leave a saber charging overnight?
A: A charger with proper termination stops when the current tapers, so nothing is being forced into the cell after that. Even so, charging is best done where you can see it, on a cool surface away from anything flammable, and the cell should be unplugged once the process has clearly finished.
Q10: What cell size does my saber use?
A: It depends on the hilt, and the only reliable answer is the specification for that saber or a look at the cell itself. Modern electronics commonly use an 18650, with 14500 in older or smaller setups and 21700 in higher-capacity builds. Match the size before you buy a charger, because a holder sized for one will not always take another.